How to Escape SAURUS
Full enclosure walkthrough from spawn scaffolding to the open blast gate, with deposit timing and final sprint tips.
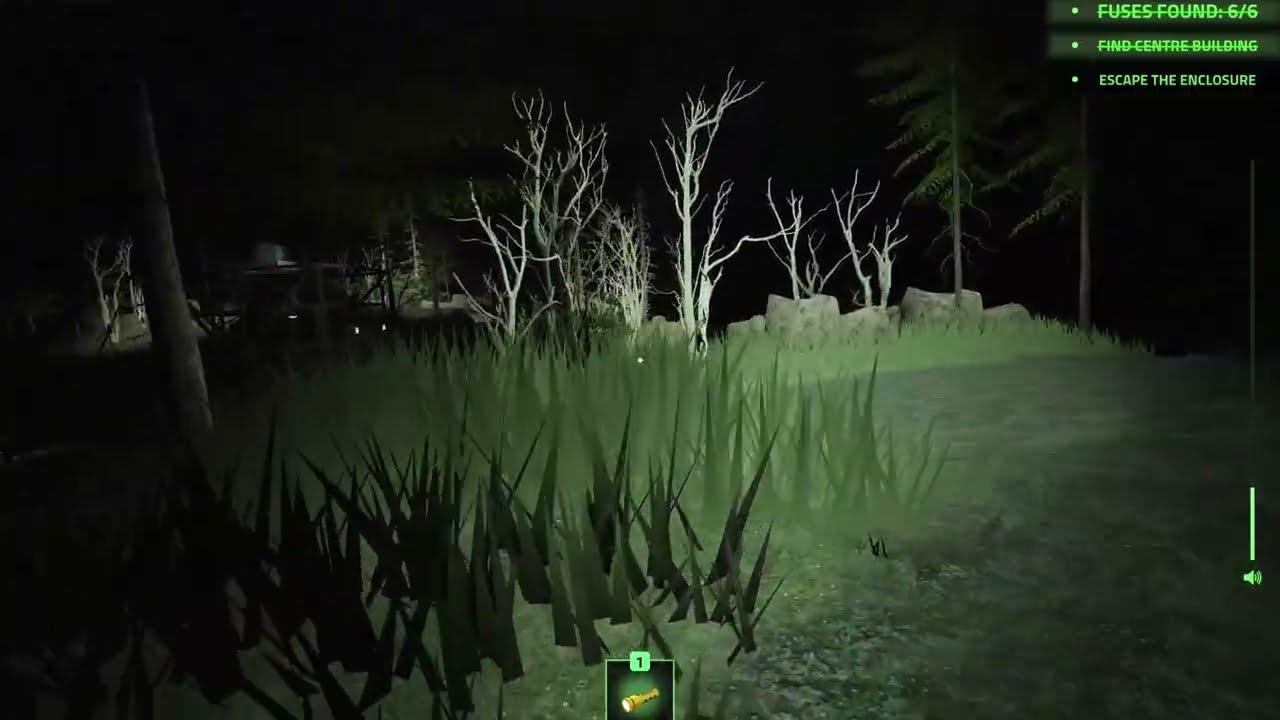
Escaping SAURUS means finishing the enclosure trial: six fuses into the yellow generator, power restored, blast gate open, feet across the threshold. This walkthrough is the narrative route for a clean clear. Pair it with the numbered map on Fuse Locations and the predator toolkit on Survive Dinosaurs. New players should skim Getting Started once before attempting a deathless run.
SAURUS [HORROR] by Pegasi Games supports solo or one-to-five co-op on Roblox. The steps below assume a standard enclosure; Challenge modifiers change pressure but not the fuse count—see Challenge Mode after you can clear normally.
Phase 1 — Briefing and Fuse #1
Entering the enclosure triggers announcer framing: six fuses power the exit systems, and the Center Building houses the generator plus early fuse access. Your tracker shows FUSES FOUND: 0/6 and points you toward the Centre Building.
Exit the scaffolding tower cage onto the grass. Collect Fuse #1 from the white folding table with the laptop and black case. Orient on the red beacon. That single landmark prevents the most common early failure—wandering the woods with no compass home.
Phase 2 — Center Building, Fuse #2, first deposit
Follow the dirt road to the beacon. Climb the ramp, pass security, and enter the rear machinery room. Take Fuse #2 from the table in front of the yellow generator. Interact with the INSERT prompts to seat both fuses. The meter should read about 33% with two green segments.
This deposit is non-negotiable for consistent escapes. Players who skip banking often die on the first outer loop and restart at zero with nothing to show for the risk.
Phase 3 — Learn the doorway rhythm
Leaving the generator room frequently pulls the hunting dinosaur into the entrance path. When you hear heavy stomps or your character complains about noise, freeze inside a doorway. Watch the pale predator cross the yard. Wait until it passes behind fencing, then step out.
Buildings are shelters. The dinosaur does not freely walk through standard entries the way you do. Treat every return to the Center Building as a door-check, not a sprint through an open kill box. Crouch along chainlink later when the beast camps the compound during the endgame.
Phase 4 — Outer fuses #3 to #5
Exit through a side fence gate into darker perimeter trails. Hunt laptop glow:
- Pine brush table — Fuse #3 near dense pines on the curving dirt trail.
- Dead tree desk — Fuse #4 under bare trees across a valley clearing.
- Ridgeline workstation — Fuse #5 on the elevated path sweep.
Carry stacks if the route is clear, but listen constantly. Use scent mounds to mask odor before long exposed crossings. Keep the flashlight on the ground to reveal bear traps. Jeeps at intersections are breadcrumbs back to the beacon.
When you have banked enough outer progress, return to the generator and insert. Power should approach ~83%. If a dinosaur is glued to the front doors, wait crouched at the fence line until its back turns, then enter.
Phase 5 — Fuse #6 and Power Restored
Take the lower dirt road to the final workstation. Collect Fuse #6, rotate home immediately, and repeat the crouch-and-slip entry if needed. Seat the last fuse in the sixth socket. The UI should flash green at FUSE: 100%, grant Power Restored style completion credit, and rewrite the objective to escape the enclosure.
Your character will note that power is back and the gate must be found. Do not celebrate inside the generator room for long—commit to the exit path while you still have stamina and a clear mental map of the main road.
Phase 6 — Blast gate sprint
Leave the control room through the facility’s front entrance onto the central dirt trail. Sprint toward the outer concrete containment wall. The towering steel blast door should already be lifted, with bright green marker lights framing the open route.
Cross the threshold into the dark tunnel beyond to conclude the trial. Surviving without dying typically unlocks escape-focused badges such as Escape Artist and end-state badges in the The End? family, alongside your run score. Exact badge names can vary with updates; check Updates when Pegasi Games ships new rewards.
Badges tied to a clean escape
A standard clear lines up with three badge-style milestones players chase:
- Power Restored — typically associated with seating the sixth fuse and hitting
FUSE: 100%on the yellow generator. - Escape Artist — escape-focused credit for surviving the trial and crossing the open blast gate without throwing the run away on the final road.
- The End? — end-state / completion-family recognition after you finish the enclosure objective.
Exact unlock text can shift with Pegasi Games updates, so verify new reward copy on Updates after patches. For the dedicated badge reference—including deathless versus any-escape notes—see Badges & Endings. Landmark memory for the gate road lives on Enclosure Map; predator tools for deathless attempts live on Survive Dinosaurs.
Failure recovery without tilting
If you die before 33%, restart with the spawn table → beacon → deposit loop until it is muscle memory. If you die between 33% and 83%, you still proved the early bank—push one more outer fuse per attempt instead of greed-grabbing three. If you die after 100% on the road, slow the final sprint just enough to avoid traps; the gate is not a race against a timer so much as a race against a dinosaur that may still be on the main path.
Solo versus co-op escape pacing
Solo clears reward patience and landmark memory. Co-op clears reward role discipline: one player calls dinosaur position, others ferry fuses, nobody spam-jumps in the generator doorway. Split the pine / dead-tree / ridgeline sweep only when voice or text callouts are reliable. Party structure ideas live on the Players hub.
Checklist before you queue
- Fuse #1 from spawn table
- Beacon road to Center Building
- Fuse #2 + insert to ~33%
- Doorway waits respected
- Outer fuses via laptop glow
- Mid deposit near ~83%
- Fuse #6 + 100% insert
- Main road sprint through open blast gate
Related guides
- Fuse Locations — detailed workstation order and percent sheet
- Enclosure Map — landmark chain from spawn tower to blast gate
- Badges & Endings — Power Restored, Escape Artist, The End?
- Survive Dinosaurs — scent, traps, crouch, flashlight
- Scent Mounds — temporary odor mask timing
- Hazards: Bear Traps — grass clamps on the escape road
- Controls — interact and movement bindings
- Challenge Mode — same escape under harder modifiers
- Guides Hub — full tutorial index
- Codes — redeemables when available
Run the checklist slowly once, then compress it. A clean SAURUS escape is less about hidden secrets and more about repeating the deposit rhythm without feeding the dinosaur a free look at your back.
Frequently Asked Questions
Quick answers for SAURUS survivors.
How do you escape in SAURUS?
Collect all six fuses, insert them into the yellow Center Building generator until power hits 100%, then sprint the main dirt road through the open blast gate.
What happens at 100% fuse power?
Power Restored progress unlocks the perimeter exit. Your objective switches to escaping the enclosure and finding the lifted blast door.
Can dinosaurs enter the Center Building?
They pressure doors and yards heavily, but standard interiors act as shelter. Wait in doorways until patrols pass before you exit.
Is co-op required to escape?
No. Solo escapes are fully viable. Co-op up to five players can speed fuse collection if you manage noise and roles.
Which badges relate to escaping SAURUS?
Players commonly chase Power Restored at 100% generator power, Escape Artist for a successful blast-gate clear, and The End? style completion credit. See Badges & Endings and check Updates after patches for reward text changes.